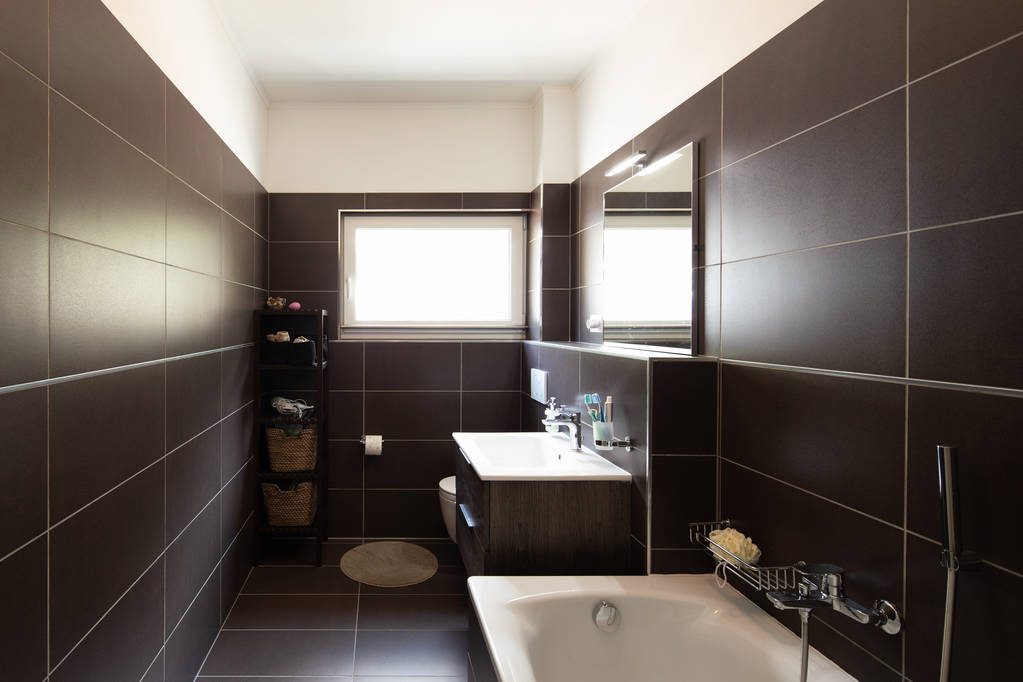
Aged Care Considerations: When selecting the best bathing and showering tiles for the elderly in aged care settings, it’s essential to consider various other factors to ensure a safe and comfortable bathing experience. Here are some additional considerations:
Accessibility Features: In aged care facilities, incorporating accessibility features into the tile design becomes even more crucial. This can involve creating fully accessible bathing areas with features like roll-in showers, adjustable showerheads, and seating options. Installing grab bars securely into the tile walls at appropriate heights is also essential for providing support and stability during bathing.
Ease of Cleaning: In aged care environments, where hygiene is of utmost importance, choosing tiles that are easy to clean and maintain is essential. Smooth, non-porous tiles are generally more resistant to stains and easier to sanitize. Selecting tiles with antimicrobial properties can also help maintain a cleaner and healthier bathing environment.
Aesthetics and Personal Preferences: Considering the aesthetics and personal preferences of elderly individuals in aged care is important to promote a sense of comfort and well-being. Choose tiles that create a visually pleasing and calming atmosphere in the bathing area. Selecting colors and designs that align with the overall design aesthetic of the facility can contribute to a positive bathing experience for residents.
By incorporating these additional considerations specific to aged care settings, you can ensure that the chosen tiles not only prioritize safety and functionality but also cater to the unique needs and requirements of the elderly individuals in their bathing and showering experiences.
Installation Considerations: Proper installation of the chosen tiles is key to ensuring their effectiveness and longevity. Hire experienced professionals who are knowledgeable about the specific requirements for elderly-friendly bathrooms. This includes proper waterproofing, appropriate adhesive and grout application, and attention to detail in edge finishing and transitions.
Budget Considerations: It’s important to work within a budget when selecting tiles for bathing and showering areas. While there are various options available, consider the cost-effectiveness of different tile materials, sizes, and finishes. Striking a balance between quality, safety, and affordability will help you make an informed decision.
Consulting Experts: If you’re unsure about the best tile options for elderly bathing and showering, consider consulting with tile suppliers, bathroom designers, or occupational therapists who specialize in creating safe and accessible environments for older individuals. They can provide valuable guidance based on their expertise and knowledge of industry standards.
By taking these considerations into account, you can confidently choose the best bathing and showering tiles for the elderly that prioritize safety, accessibility, ease of maintenance, aesthetics, and personal preferences. Creating a functional and inviting bathroom space can greatly enhance the bathing experience and contribute to the overall well-being of older individuals.
Moreover, incorporating ADA compliance is essential for creating a fully accessible bathroom for the elderly. ADA-compliant tiles meet specific standards for slip resistance and surface texture, ensuring a safer bathing environment.
In addition to slip resistance, tactile warning strips can be installed on the shower floor. These textured strips, typically made of rubber or other non-slip materials, provide additional sensory cues and guidance, helping to prevent slips and falls.
Consideration should also be given to contrast and visibility. Opt for tiles that offer good color contrast with the surrounding areas. This aids individuals with visual impairments or depth perception issues in distinguishing between different surfaces, reducing the risk of accidents.
Barrier-free showers, where the same or similar tiles are used throughout the bathroom and shower area, create a seamless and unobstructed look. This design choice enhances accessibility, eliminates tripping hazards, and facilitates easier movement for individuals with mobility aids.
When it comes to grout lines, finding the right balance is crucial. Larger grout lines can provide better traction but may require more frequent cleaning. Smaller grout lines are easier to clean but may offer less traction. Consider the specific needs and preferences of the elderly individual when determining the ideal size and spacing of grout lines.
Temperature control is another aspect to consider. Tiles with good thermal properties can help maintain a comfortable temperature in the bathroom. Opt for tiles that are not too cold to the touch, as this can be uncomfortable for older individuals, particularly those with circulation issues.
Furthermore, prioritize tiles that are easy to clean and maintain. Porcelain and ceramic tiles are generally more resistant to stains and moisture, making them practical choices for bathroom applications. Avoid porous materials that may require frequent sealing or are prone to staining, as they can add to the maintenance requirements.
Lastly, professional installation is paramount for ensuring the proper implementation of the chosen tiles. Experienced professionals familiar with accessibility and safety requirements will ensure that the tiles are installed correctly, maximizing functionality and durability.
To make well-informed decisions, it’s highly advisable to consult professionals such as tile suppliers, contractors, or occupational therapists. Their expertise and knowledge can provide valuable guidance tailored to the unique needs and circumstances of the elderly individual, resulting in the selection of the best bathing and showering tiles for their specific requirements.
Conclusion
When selecting bathing and showering tiles for the elderly, it is crucial to prioritize safety, accessibility, and ease of maintenance. Non-slip tiles with a textured or matte finish are recommended to minimize the risk of slipping. Consider small-sized mosaic tiles or large-format tiles with textured surfaces to enhance traction. Porcelain tiles are a popular choice due to their durability and moisture resistance. Opt for water-resistant tiles that prevent mold and mildew growth. Pay attention to color contrast for improved visibility and consider ADA-compliant options if aiming for full accessibility. Tactile warning strips can be installed for additional guidance. Seamless and barrier-free shower designs can enhance accessibility. Grout lines should strike a balance between traction and ease of cleaning. Consider tiles with good thermal properties for comfort. Prioritize professional installation to ensure proper implementation. Consulting experts in the field can provide valuable guidance tailored to individual needs. By considering these factors, you can select the best tiles for bathing and showering that cater to the safety and well-being of older individuals.


